NFC automation: send SMSs and bedside mode more

I try to remember things. I am bad at it.NFC Tag

For example, I try to remember to text home when I leave work. And I try to remember to set my phone to night mode with alarm for next morning when I go to bed.

Enter NFC tags (eg. from dx) and the Smart Tags app for the blackberry. The Smart Tags app allows you to write tasks to the NFC tag, and your phone will then execute that task if you hold it near the tag.

So, I put some tags

  • on my backpack strap to launch a SMS home
    • this one never worked once I put it onto the tuck tape I used as an in-between to the fabric
  • on my night stand to turn my phone into bedside notification mode (sadly they don’t have a setting available for true bedside mode)
    • works, although of limited use since I still need to put it into proper bedside mode
  • on my laptop to turn notification normal and open phone screen
    • That sticker never worked after I applied it to my laptop. We were talking about antennas and all their fun properties in a HAM radio course I am taking right now, and it made me think. Sure enough, it turns out NFC stickers  don’t work well when applied to metal. You can buy special ones that do.
  • on my key chain to turn on the camera (I use my camera a lot, more to document than for snapshots)
    • Never did figure out a way to put it on the keychain, I don’t ahve anything on there big enough to fit the sticker. If I wanted this badly I’d need to get one of the keychain NFCs

So, only 1 in 4 worked, and I am now hesitant to use the last one. It appears functional, but I don’t know what broke the other two, so holding off for a bit.

random noise maker

Sparkfun’s MP3 trigger in case on the actuator mechanism for the random noise maker.

Someone asked me to build a gadget that will randomly play one of 4 sounds when a cord is pulled.
I decided to build it using Sparkfun’s MP3 trigger. I designed and laser cut a case for the circuit board and plasma cut an adjustable hinge mechanism to mount it in. (download .pdf).

I am really please with the MP3 trigger, setup was a piece of cake: put mp3s onto a microSD card, add config file to set a trigger to random, solder on a switch, done. Designing the case and mechanism and setting it all up took a bit longer, but a satisfying project over all.

Soft jaws

IMG_20150818_203651I have some soft jaws with rubber faces for my bench vise. They are great for holding more delicate things still while working on them.

The problem is that the magnets on the back are very weak, so the jaws don’t stay in place as you are adjusting stuff against them. I didn’t realize just how weak the magnets were until one fell out the other day. I don’t know if it could hold up 5 pieces of paper to my fridge.

soft jaw with original, weak magnet on the right and the replacement neodymium magnets on the left

So, since it had fallen out anyway I instead hot-glued in some 1/4″ neodymium magnets. What a difference! I think it will work much better this way, and I could always add a few more power magnets if this isn’t strong enough.


Customer cards on cell phone.

I try to keep my daily carry limited to what will fit into my pockets, so I have a very small wallet. No space for all the different cards different places give you. For example, our library gives out a credit card sized customer card with a bar code. I never have it with me, and the librarians are usually happy enough to accept other ID. So far it has meant that I could not use their self-checkout, though. I wondered if the checkout machine would accept a photo of the card on my cell phone. Turns out it does! Wonder if this will work for my co-op card and any other bar coded items as well.

This is all good for convenience, but it also opens up a risk of fraud. Anyone who has taken a picture of my card can go borrow books with it. Or, anyone who has a picture of any number of gift cards that use the same system could get money off those cards. On a less nefarious note, it would also make it easier to share something like a gift card between multiple people, everyone would just need a photo of it.

How warm is it really?

thermometer and referenceIn the summer our windows are usually open while it is colder outside than in. To find out when to close them I compare the temperature online to the one inside. We have an old mechanical thermometer near our back door, and an electronic thermostat in the living room. I usually check the one near the back door, but recently I have started to check both, and the thermostat was consistently ~2.5C warmer. If that difference were real, I figured that would be enough to notice on the skin as well, but it felt no different. So, I measured the temperatures of both with my IR thermometer.

Turns out the mechanical thermometer was about 2.5C out. And, it had a screw in the back to adjust it, so it shows the correct temperature now.

Pen Re-build and 3D Printing problems

pen modelI have a favourite mechanical pencil with built-in mechanical eraser. I had strapped two separate ones together in university, so when I found them as one unit a few years ago I was pretty excited. The casing broke, and since I doubt I will find another pencil like this in town I figured I would model the casing, make it a bit stronger, and 3D print it.

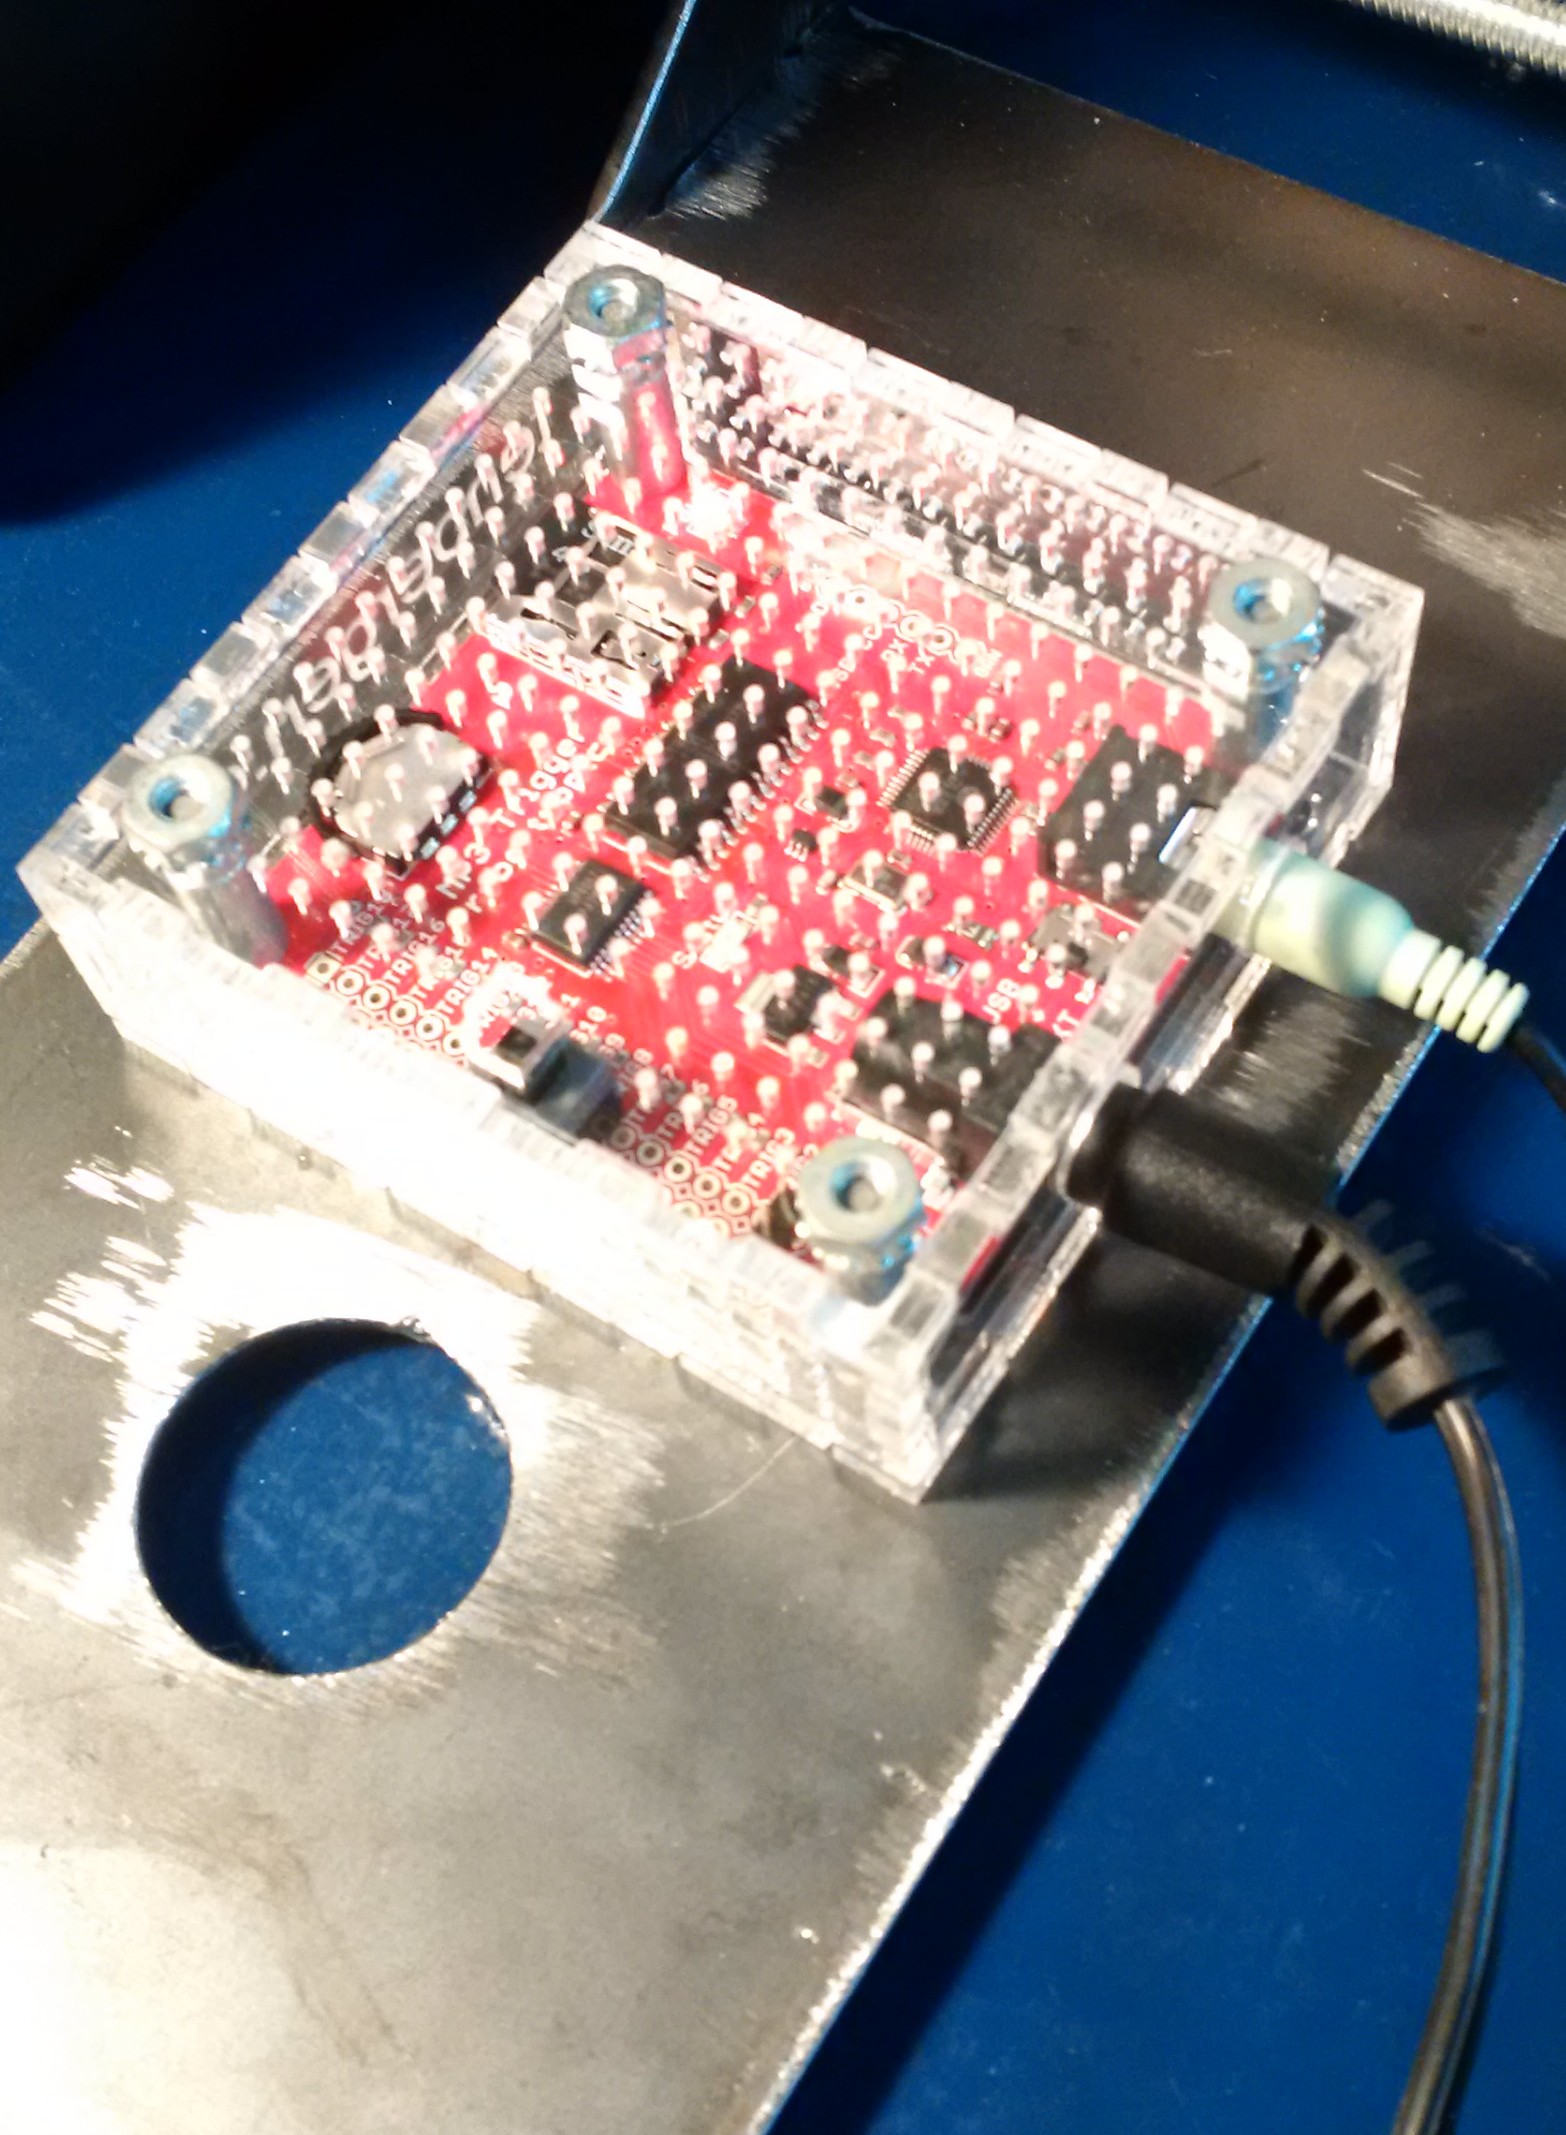
The model has three little splines cut out of the hole on the picture. I didn’t think the 3D printer would have the resolution to print those, and I was right. Didn’t think that would be a really big deal, it’s plastic, I just cut them out later.

Pen re-print and original broken partBetween this project and the coffee grinder bucket I am wondering how accurate the print process is and where in the process things go wrong. I measured several surfaces and they were all “out” (as in thicker) by about 0.1mm. Not a lot for a model that’s printed for looks, but enough that I had to drill out all the holes on this thing. Easier to fix than if there had not been enough material, but annoying still. I want to find out more about this, so I’ll have to scan, model and print some reference item to get a better understanding. Future project…

Coffee – simplification or complication?

new grinder insert, and original insert with scanning targets

I like to make my morning coffee in my espresso maker from freshly ground beans. Pouring the ground beans from the grinder into the espresso maker’s pod always has grounds going all over. And, it’s an extra step.

new grinder insert closeup
new grinder insert closeup 

So, I 3D modeled the bucket of the coffee grinder and changed it so it would accept the espresso maker’s pod as a receptacle.
The gray/white thing is the first prototype, the clear one with the scanning targets is the original, and the green one is the working model.
It would probably take a few decades to recoup the time I have spent making it, but it was a neat exercise. Working on this gave me more insight into using Geomatic DesignX for reverse engineering. It also gave me some more insights into the use and limitation of the Creaform VIUScan 3D Scanner and the uPrint 3D printer at Assentworks. That’s why I ended up with a V2 which works nicely.
The scans made by the scanner were somewhat “messy” and choosing an average to make the model was not accurate enough to fit the lid. So, I updated the model with some manual measurements in V2.

grounds cup holder in grinder

The prints made by the uPrint were not strong enough when I kept the wall thickness as thin as in the original. Those points broke, likely also partly because the fit wasn’t perfect. I increased the wall thickness for V2 and am much happier with how that feels when I flex it a little.
I was able to use V1 for a while. I had built it with a big funnel at the top to channel the grinds from the size of the bin to the size of the espresso pod. The grinds just settled on the sides of the funnel because it wasn’t really steep enough. V2 doesn’t have a funnel, the chute from the grinding mechanism now lofts directly to the inlet for the pod.

Overkill?

For some of the soccer games I play in we need to set up the corner flags. They have flimsy plastic pies as poles, and it is hard to get them into the ground. So, I made some metal pins with an edge to step on to make it easier.

All I had was about 10g (~1/8in) steel, so they ended up a bit brutish. I now think of them as zombie apocalypse flag poles and hope that no one who volunteers to transport them ever has to explain to a police officer why they are carrying weapons.